Fundamentals of Plane Strain Testing (PST)
_FADI-AMT.png)
Engineering products are designed for more than just looking nice-
they often need to be strong enough for the application. But a
component can only be as strong as the materials that make it up.
Engineers must choose the appropriate materials to build their
products, and to do that, they need to know the material properties.
This is where material testing comes in. Materials can be subjected to
a wide variety of tests to determine their suitability for
applications. This article will focus on a specific type of material
test called a plane strain tension (PST) test. We will explore the
basics of plane strain testing, including theory, equipment, methods,
results, and testing standards.
Definition of Plane Strain
Plane strain is a condition where all deformation (and thus all
strain) occurs in a plane. In other words, strain only occurs in two
dimensions out of three. This is not the case in most common types
of testing. For example, in the popular uniaxial tension test, a
long thin “dogbone” specimen is pulled apart along a single axis.
The volume of the material does not change during this process,
which means that the material must become thinner as it stretches
along its length. This thinning effect can easily be observed in
soft foods such as taffy and string cheese, but the constant-volume
principle applies even to the strongest metals. When stretched,
materials tend to become thinner both widthwise and depthwise.
Thinning is a negative strain. Thus, a standard tension test
involves positive strain along the tensile axis and negative strain
in the other two axes. The goal of a plane strain tension test is to
minimize thinning along the width of a material sample. This causes
all strain to occur along two axes: lengthwise (positive
strain/stretching) and depthwise (negative strain/thinning),
fulfilling the plane strain condition.
Relevance: Why Plane Strain Testing?
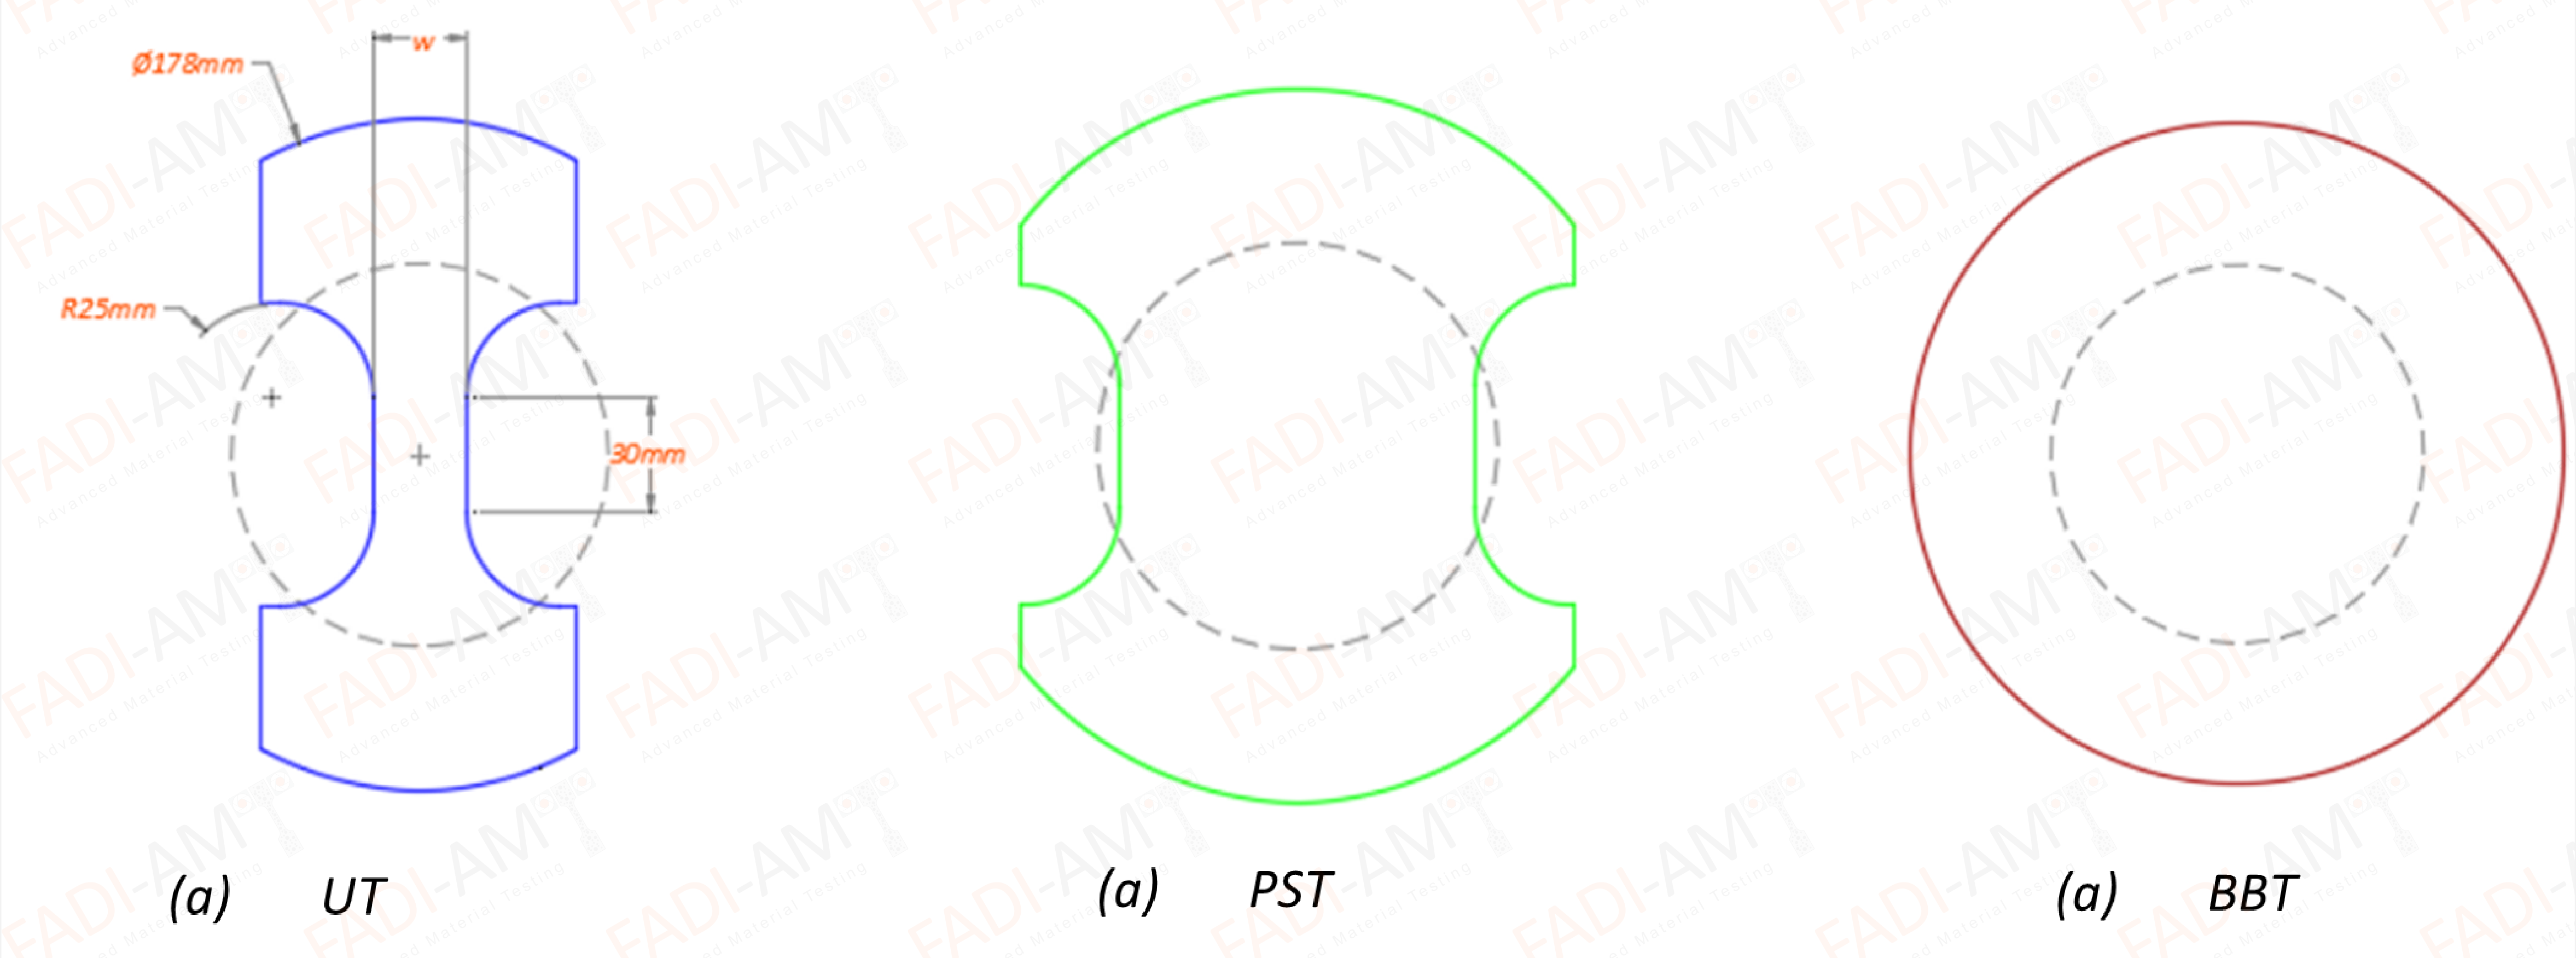
Plane strain tension (PST) is one of three common tensile loading
types, along with uniaxial tension (UT) and balanced biaxial tension
(BBT). Though some tests, such as FLC, are designed to study
material behavior under all these conditions, the plane strain
condition can be of particular interest. Most real-world
applications of plane strain involve tubes of various kinds being
subject to pressure from within. Long pipes filled with pressurized
fluid are the most common examples of this. Pressurized pipes are
extremely relevant in numerous fields, from the automotive sector to
power plant design to air conditioning systems. To ensure the
effectiveness of these pipes and the machines that rely on them,
engineers must be able to predict how parts will behave under plane
strain.
Plane Strain Testing Equipment and Methods
As stated above, plane strain tension testing seeks to minimize
thinning along the width of a material sample. Fortunately, this
can be done with the same methods and machines as other common
tests. The key is to realize that widthwise strain can be
minimized simply by changing the shape of the material sample.
This allows PST testing to use the same equipment setups as the
ubiquitous uniaxial tension and FLC tests. Depending on which
equipment is available, either of these setups may be used.
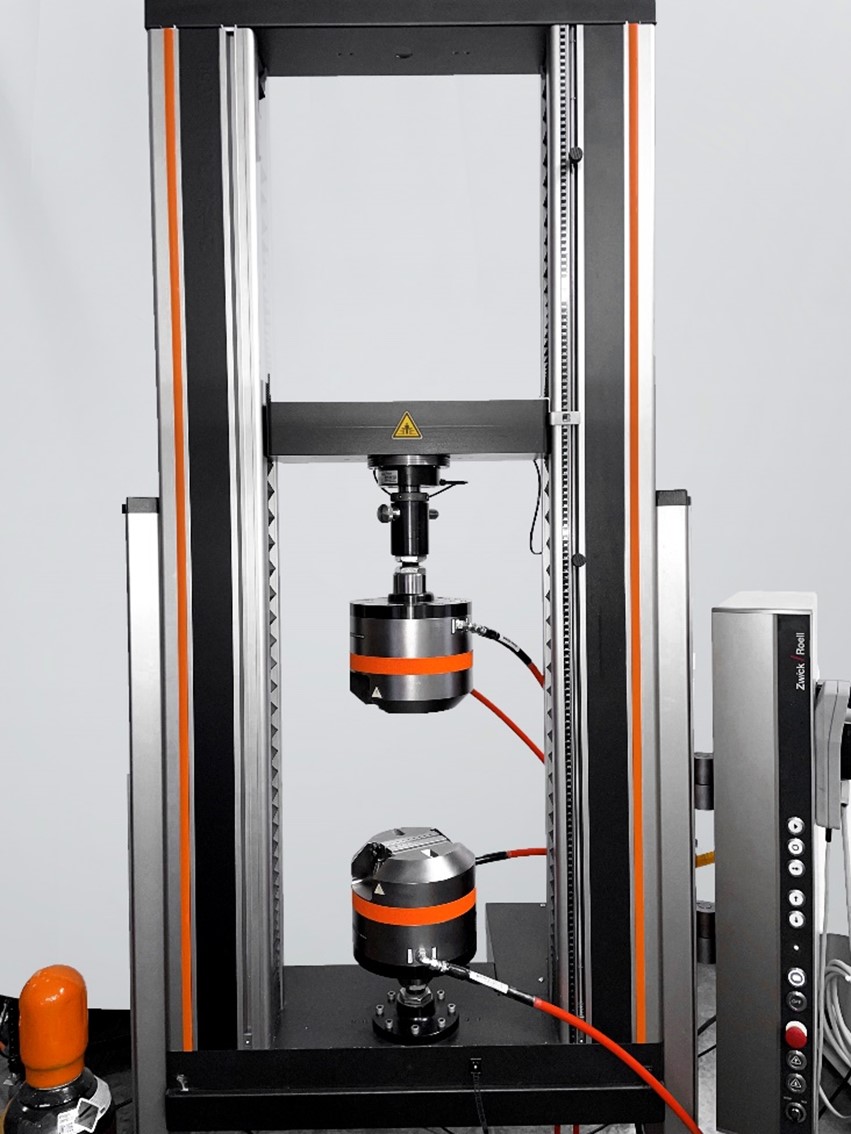
The primary piece of equipment for standard tension testing is the
universal tester or pull tester. This machine is oriented
vertically, with two grips to hold the material specimen at both
ends. The bottom grip is static, while the top grip moves upward
during the test, anchored by the crosshead. The crosshead is a
beam that can only move up or down; the speed of a test can be
expressed by referring to the “crosshead speed.” Crosshead
movement is tightly controlled by the machine’s drive system,
which in turn is controlled by electronics and dedicated test
control software. The control software typically directs the
crosshead to move upward at a constant speed, though other control
methods such as strain rate control can be used.


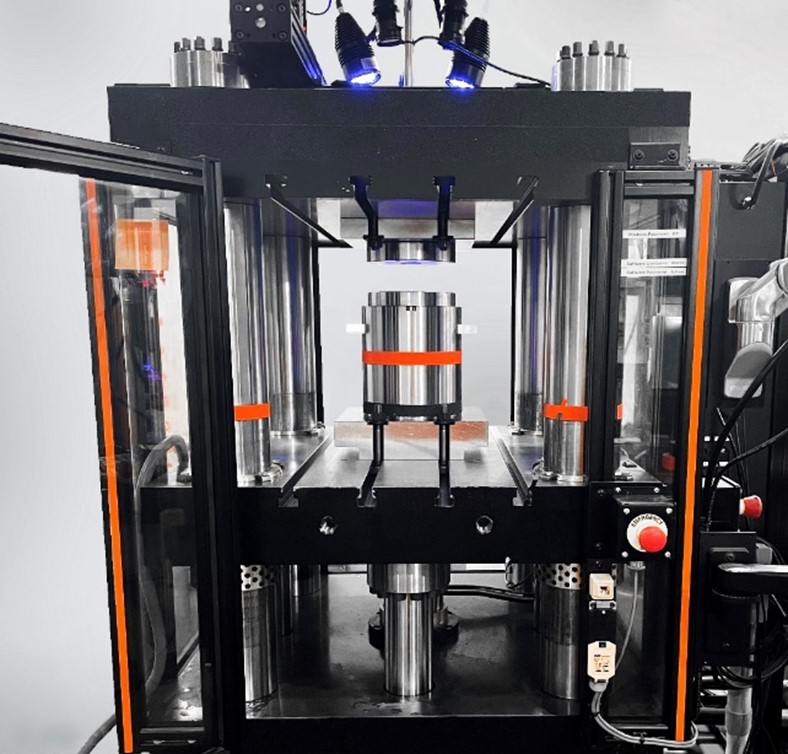
In contrast, formability testing requires a machine capable of
providing clamping and punching forces. The most common options
are the Universal Formability Tester (UFT) and the dual-acting
hydraulic press. These are discussed in more detail in our article
on Formability Testing.
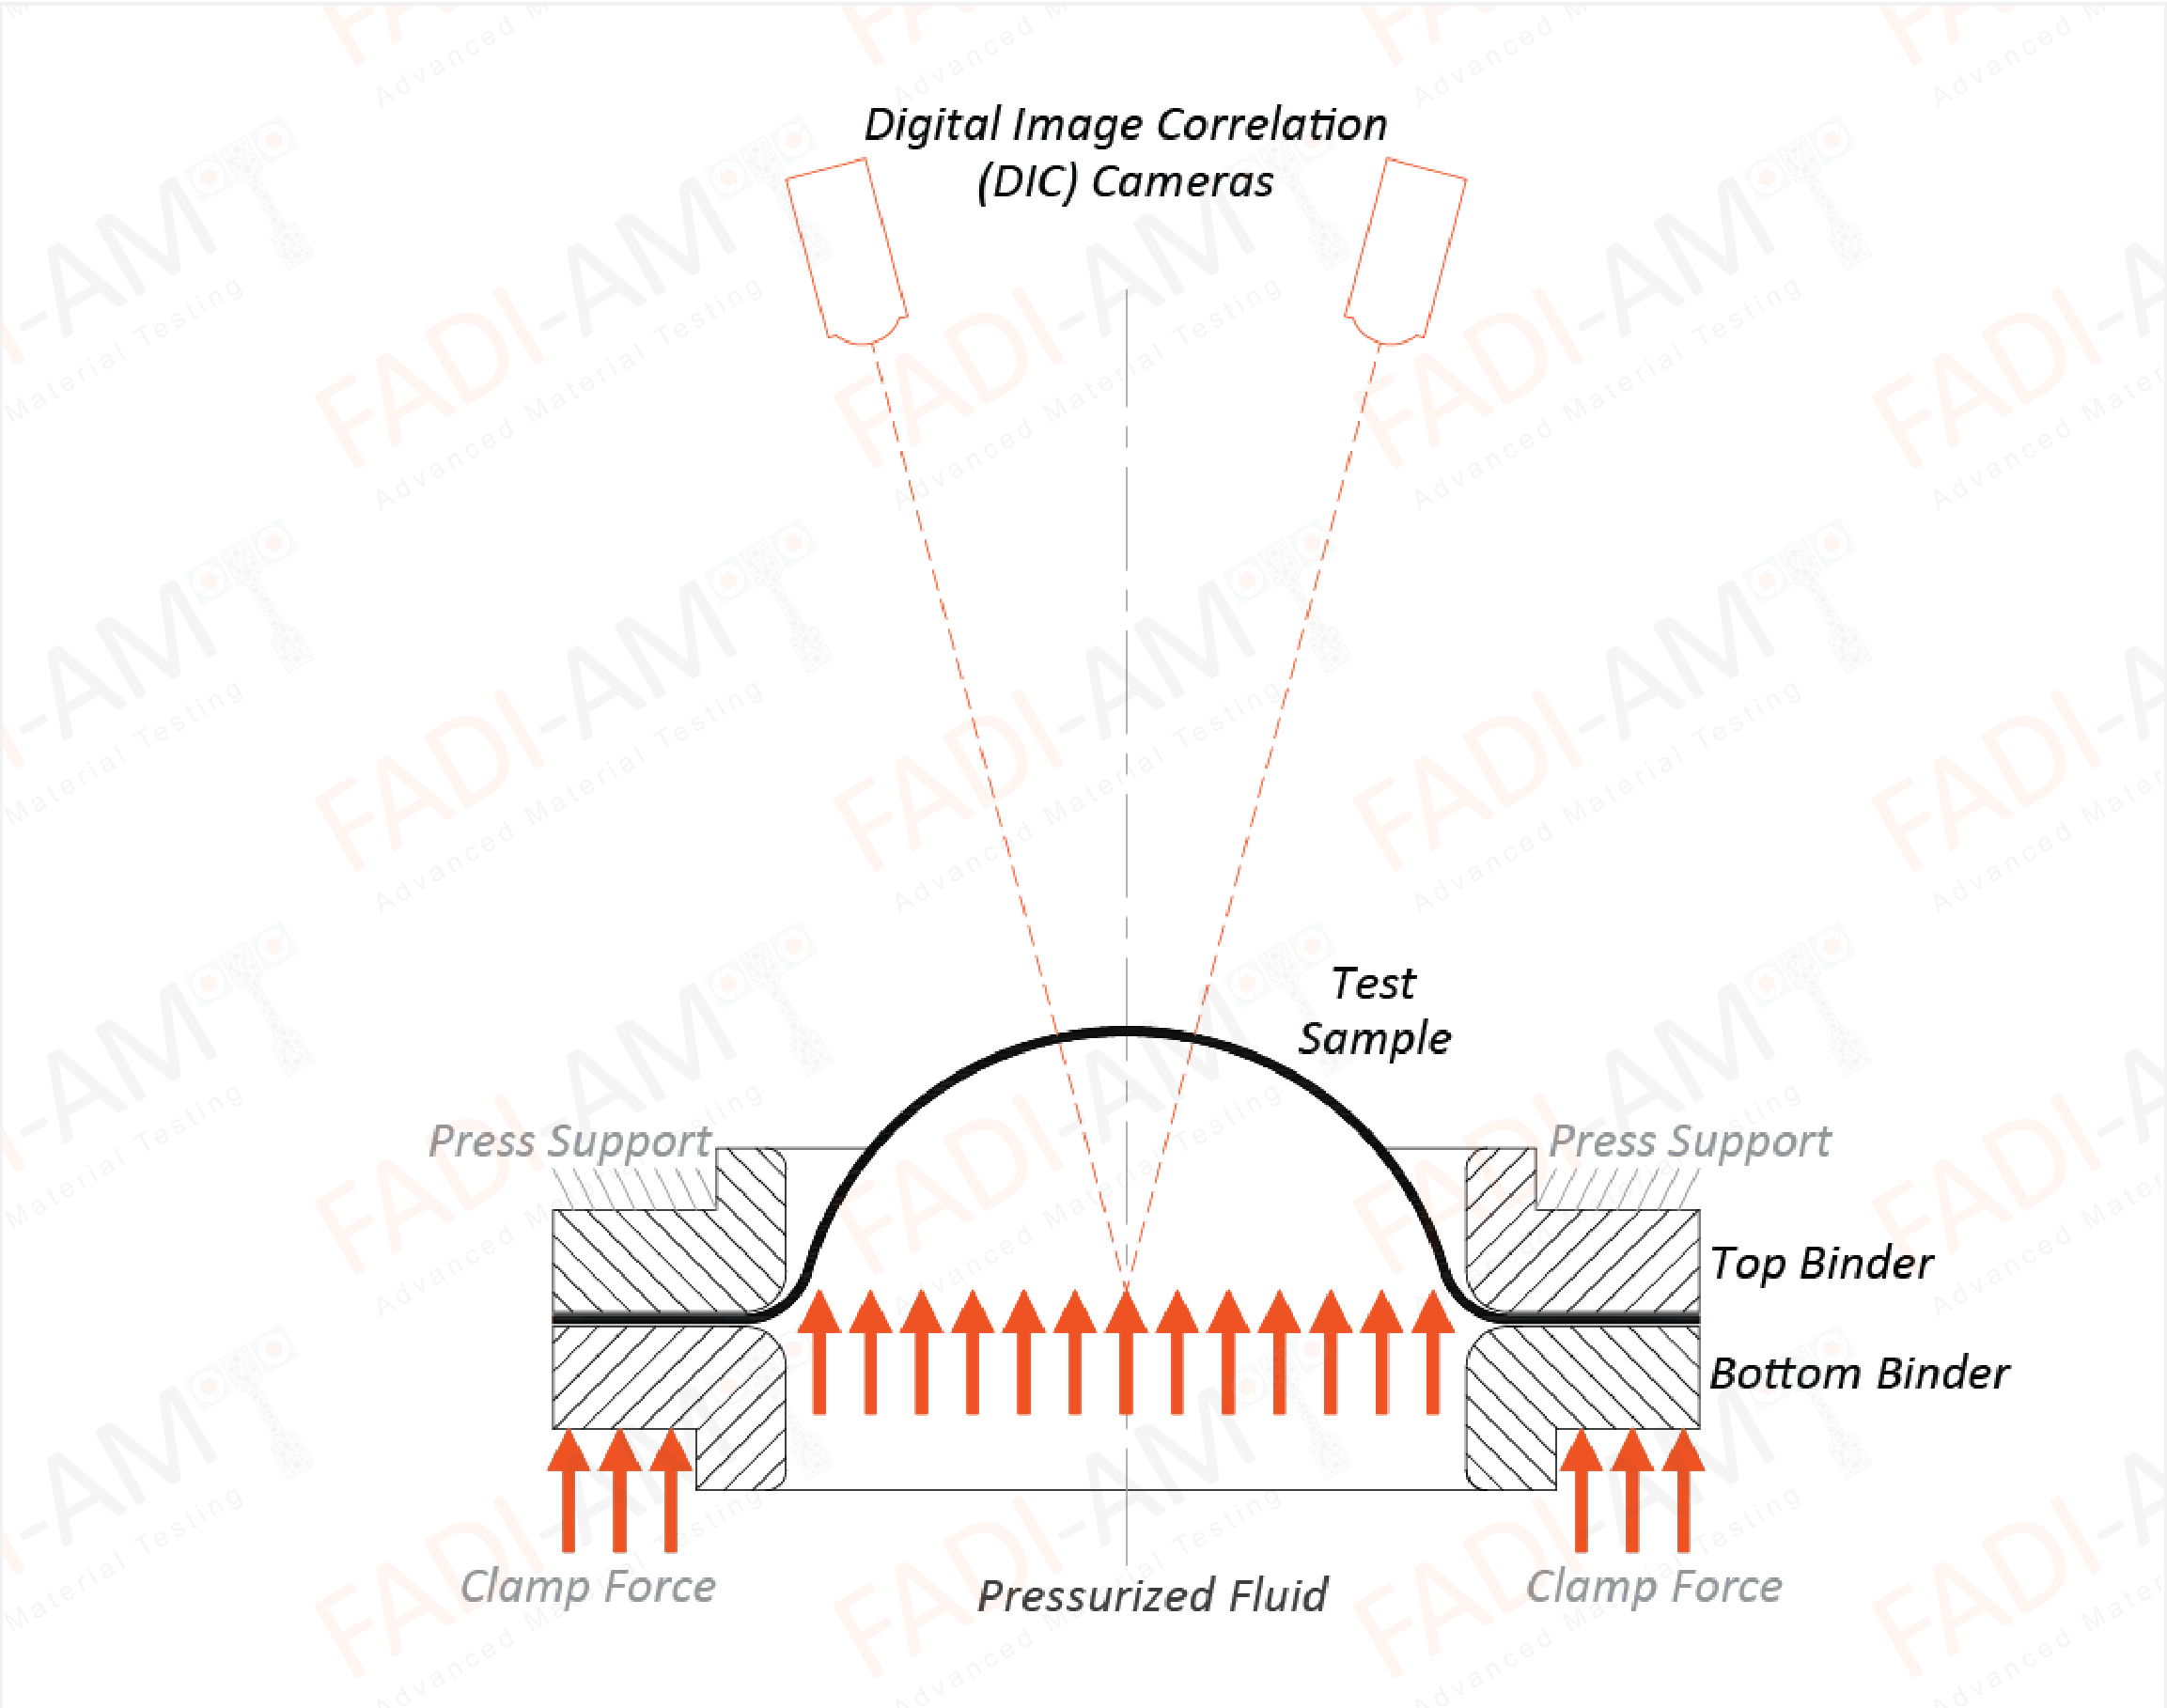
PST testing can also be performed using hydraulic bulge methods.
These replace the mechanical punch in formability testing machines
with a fluid pressure chamber, which is compressed by the machine
piston. The sample is made to bulge outward through a shaped die
because of the increasing pressure in the fluid chamber below it.


Sensors are also crucial for any material test. Though PST testing
using the standard tensile setup can utilize traditional
extensometers, it is important to verify that widthwise strain is
close to zero. However, this task is made very difficult with
extensometers due to spatial constraints. For this reason, digital
image correlation (DIC) is the best choice for strain sensing for
PST.
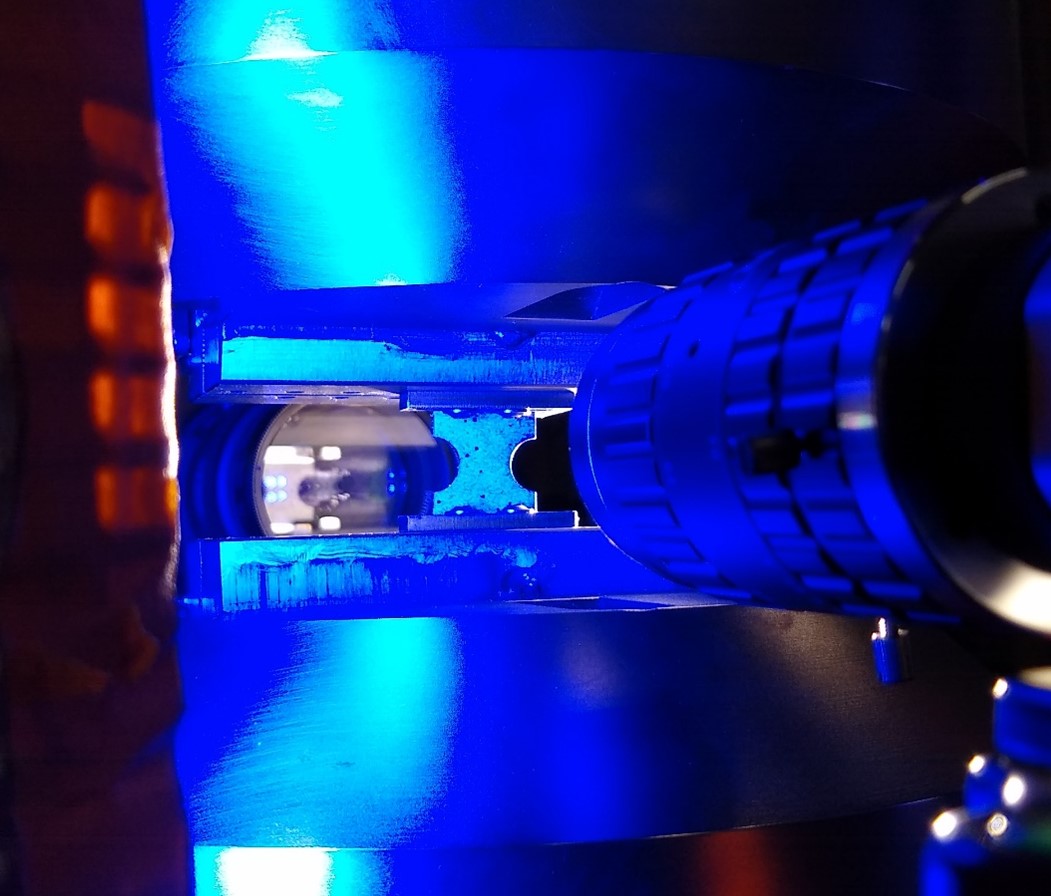
For DIC, the test piece is painted in a speckle pattern and the
entire test is filmed using one or more cameras. The DIC software
can compare the later images to the initial “reference” image and
calculate the displacement (or strain) over the painted surface.
This method also makes it easy to calculate lengthwise and
widthwise strain in the same region, a great advantage for PST
testing.
Plane Strain Testing Sample Geometry
Sample design is the key to successful PST testing. Depending on
the equipment setup used, samples will look very different.
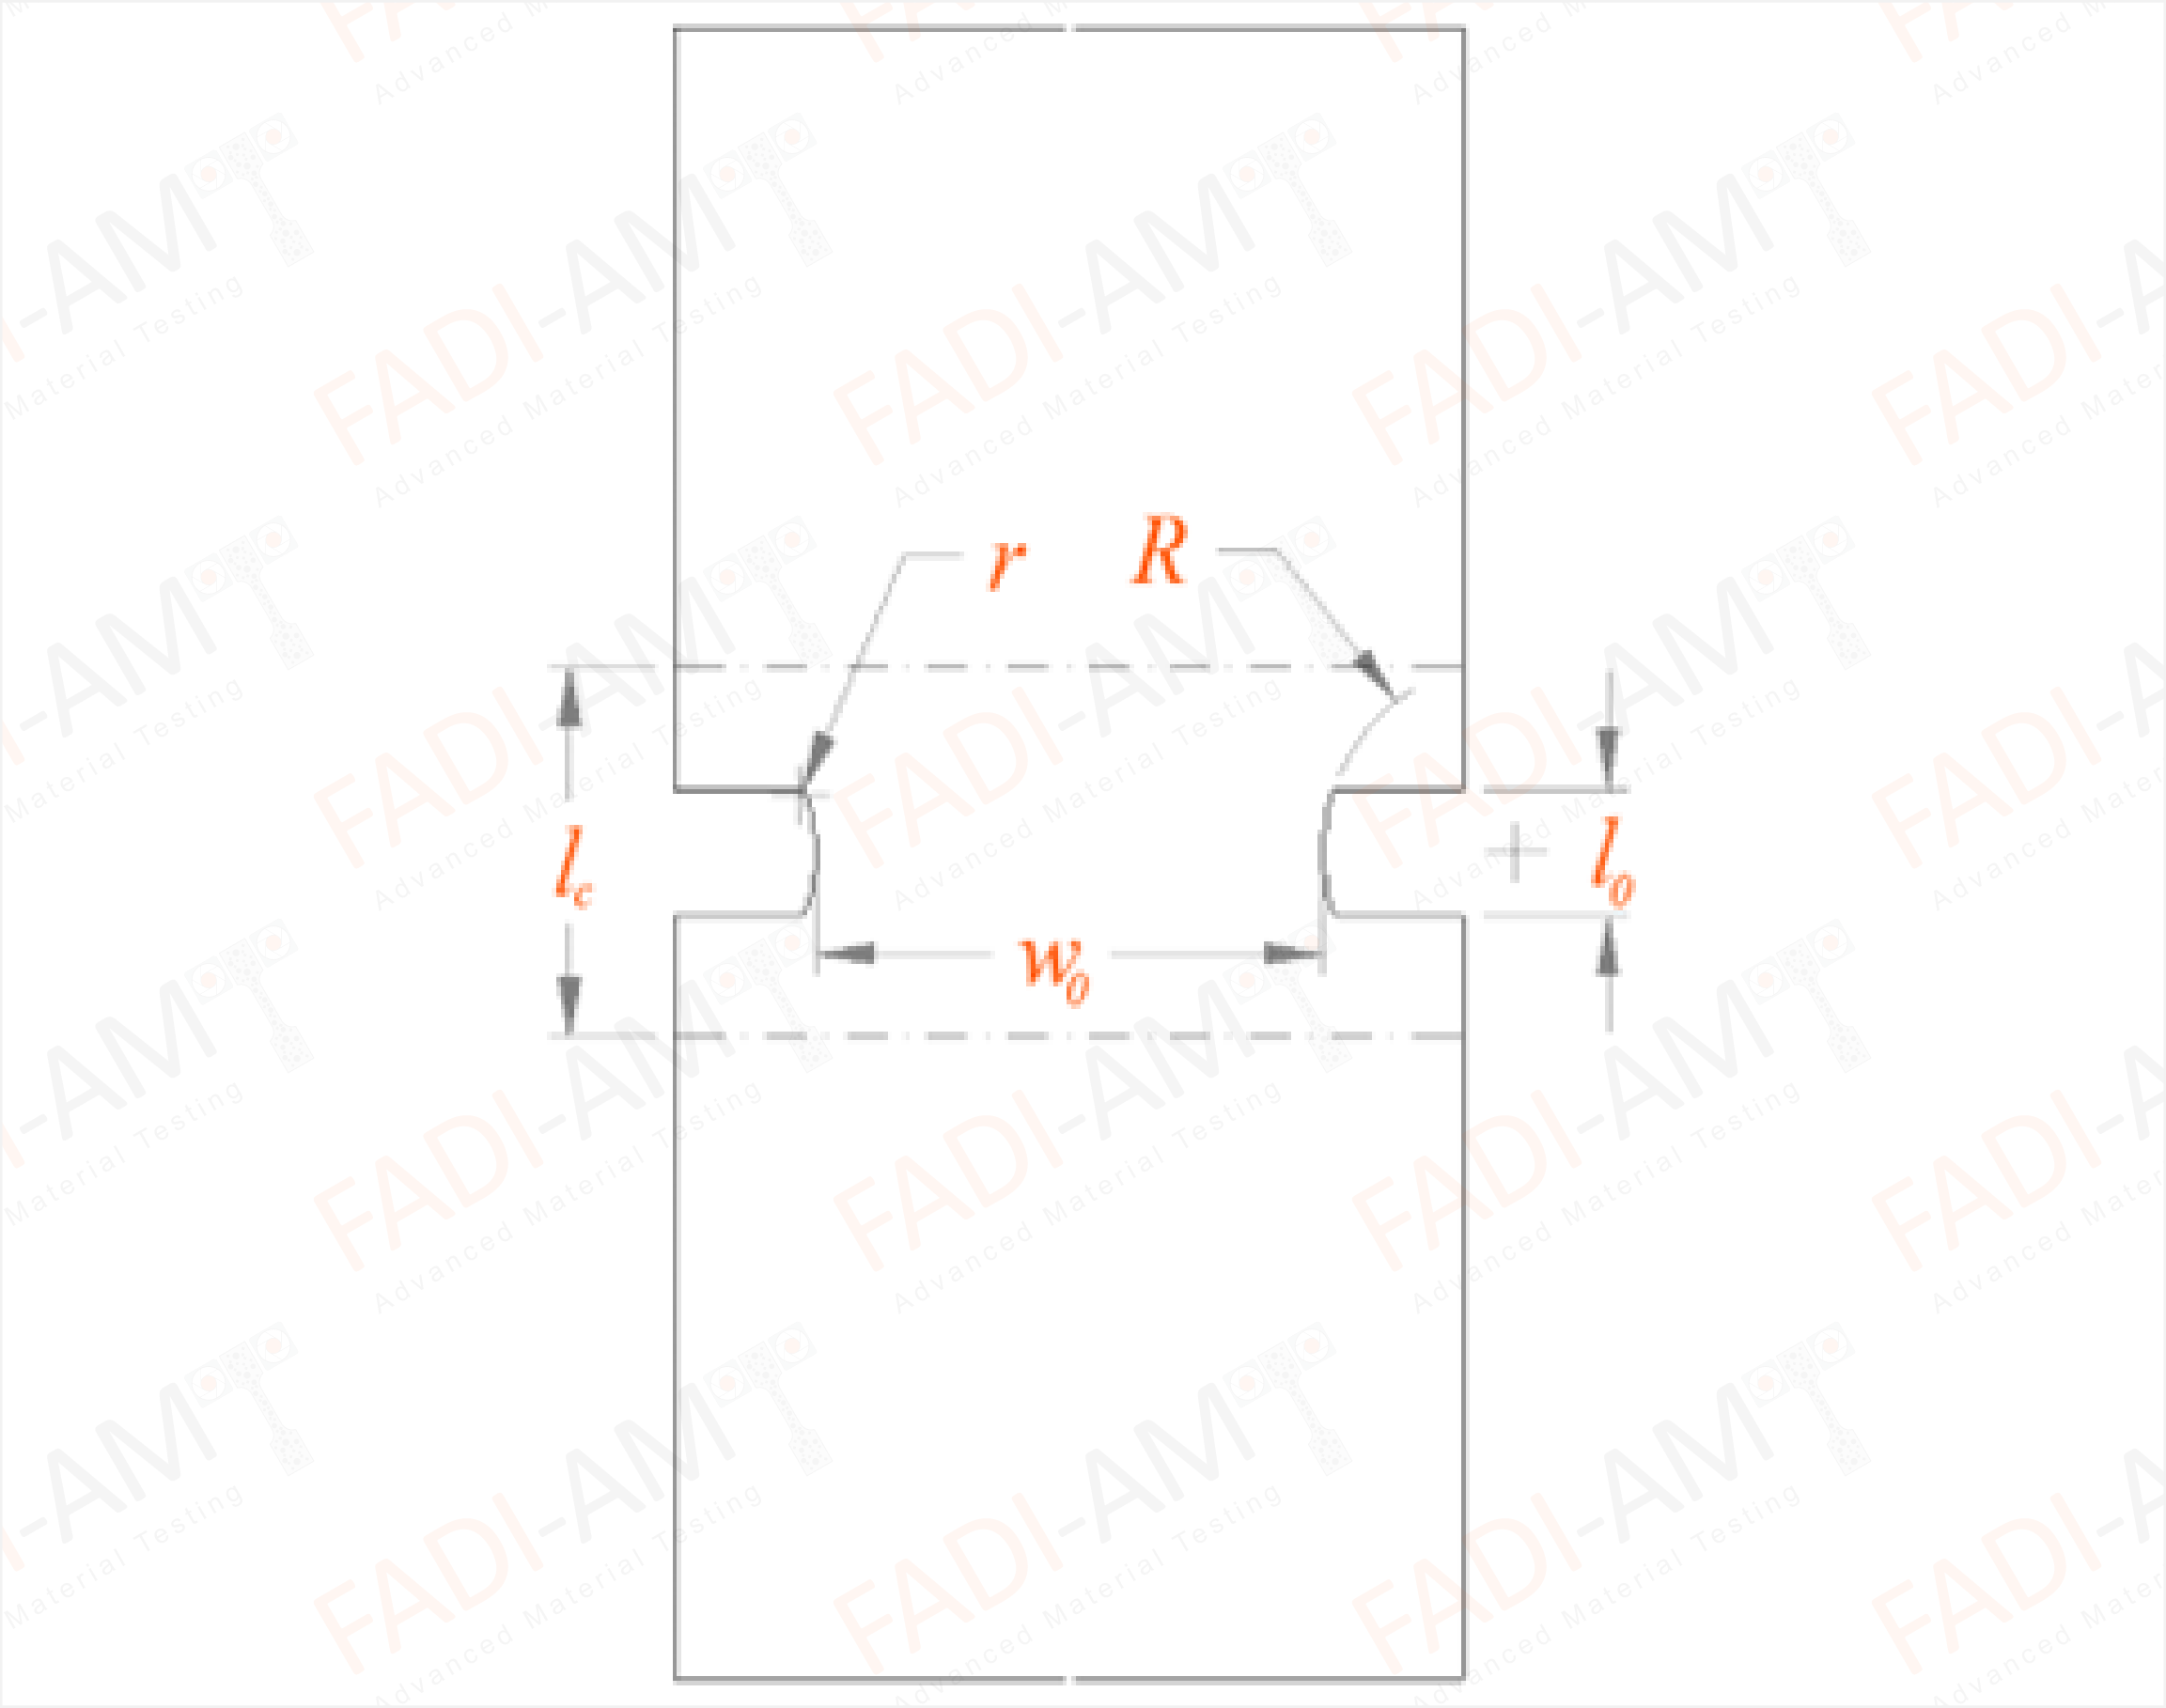
For PST using tension testing machines, the material sample shares
some similarity to the standard dogbone shape. However, instead of
a long parallel region, the sample features curved notches. During
testing, this curvature prevents the notches from thinning in the
way a dogbone sample would.

PST with formability testers can utilize several different sample
geometries, depending on the type of formability method being used.
For testing with a mechanical punch, the usual FLC sample geometries
are appropriate. The PST point for an FLC is usually somewhere near
the middle of the curve, thus requiring a sample with a middling
height-to-width ratio. The exact dimensions vary depending on the
material, but these can be determined with a little experimentation.

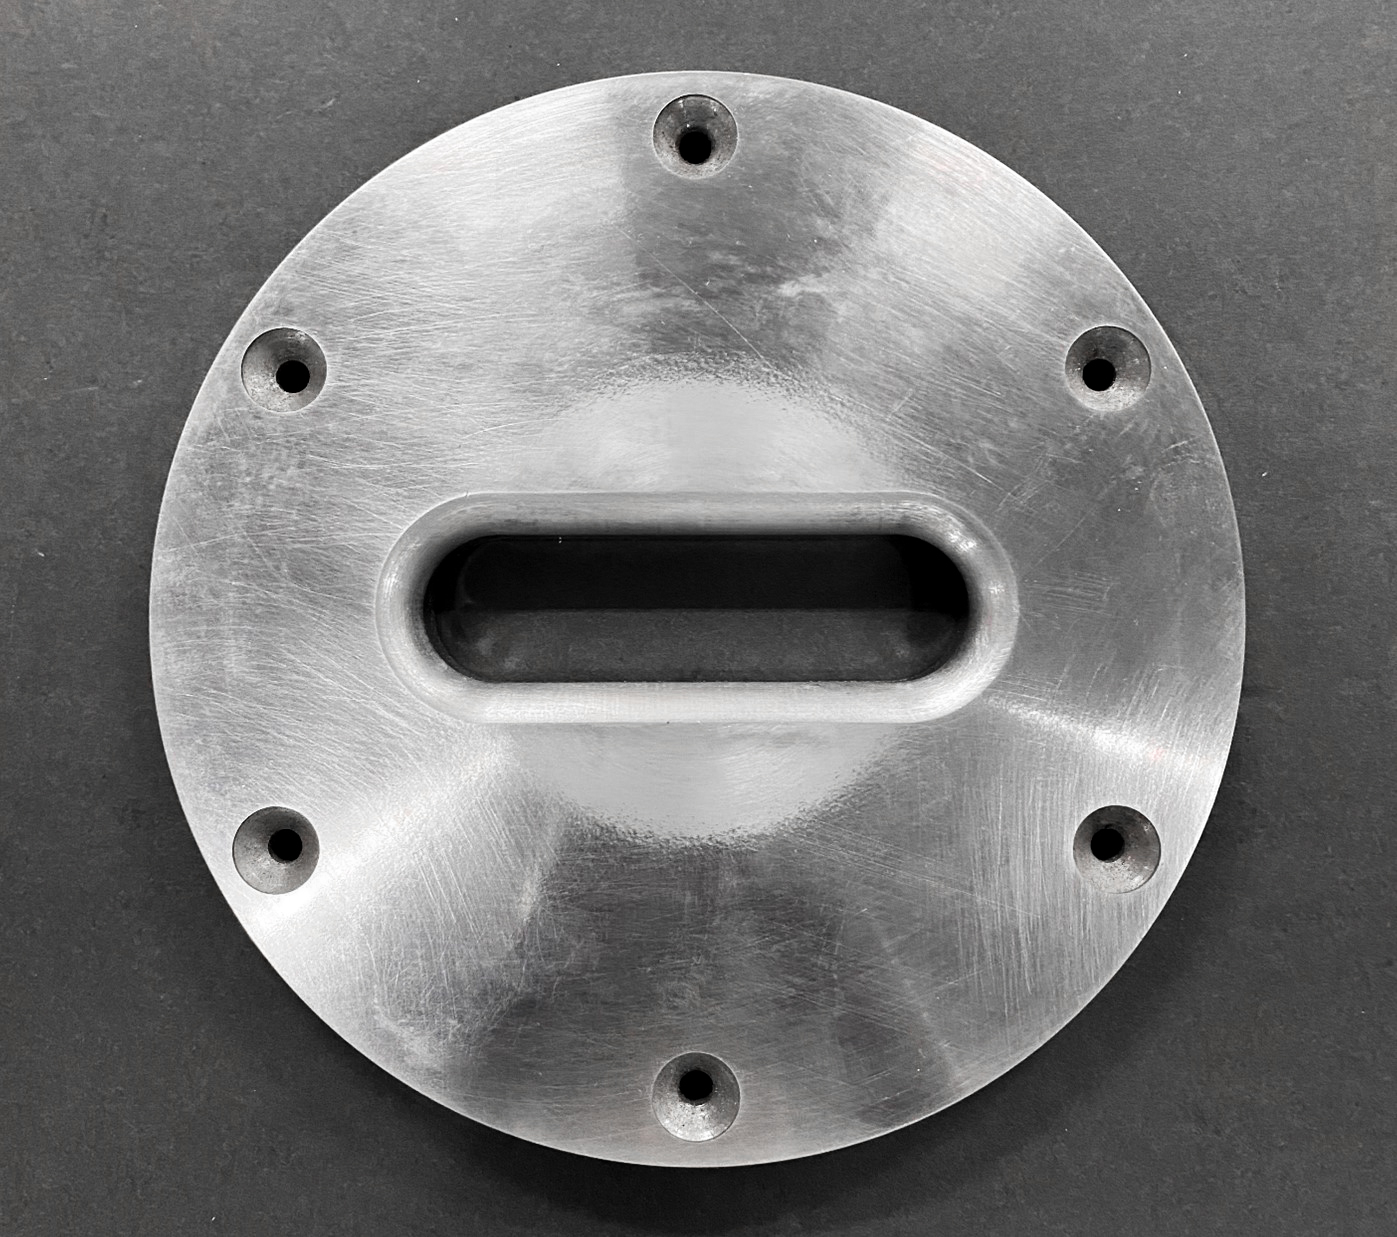
For hydraulic bulge PST testing, the sample is a simple square
sheet of material; instead, the shape of the bulging die is the
crucial factor. PST dies are long and narrow, essentially
replicating the effect of a pressurized pipe section.

Plane Strain Testing Results
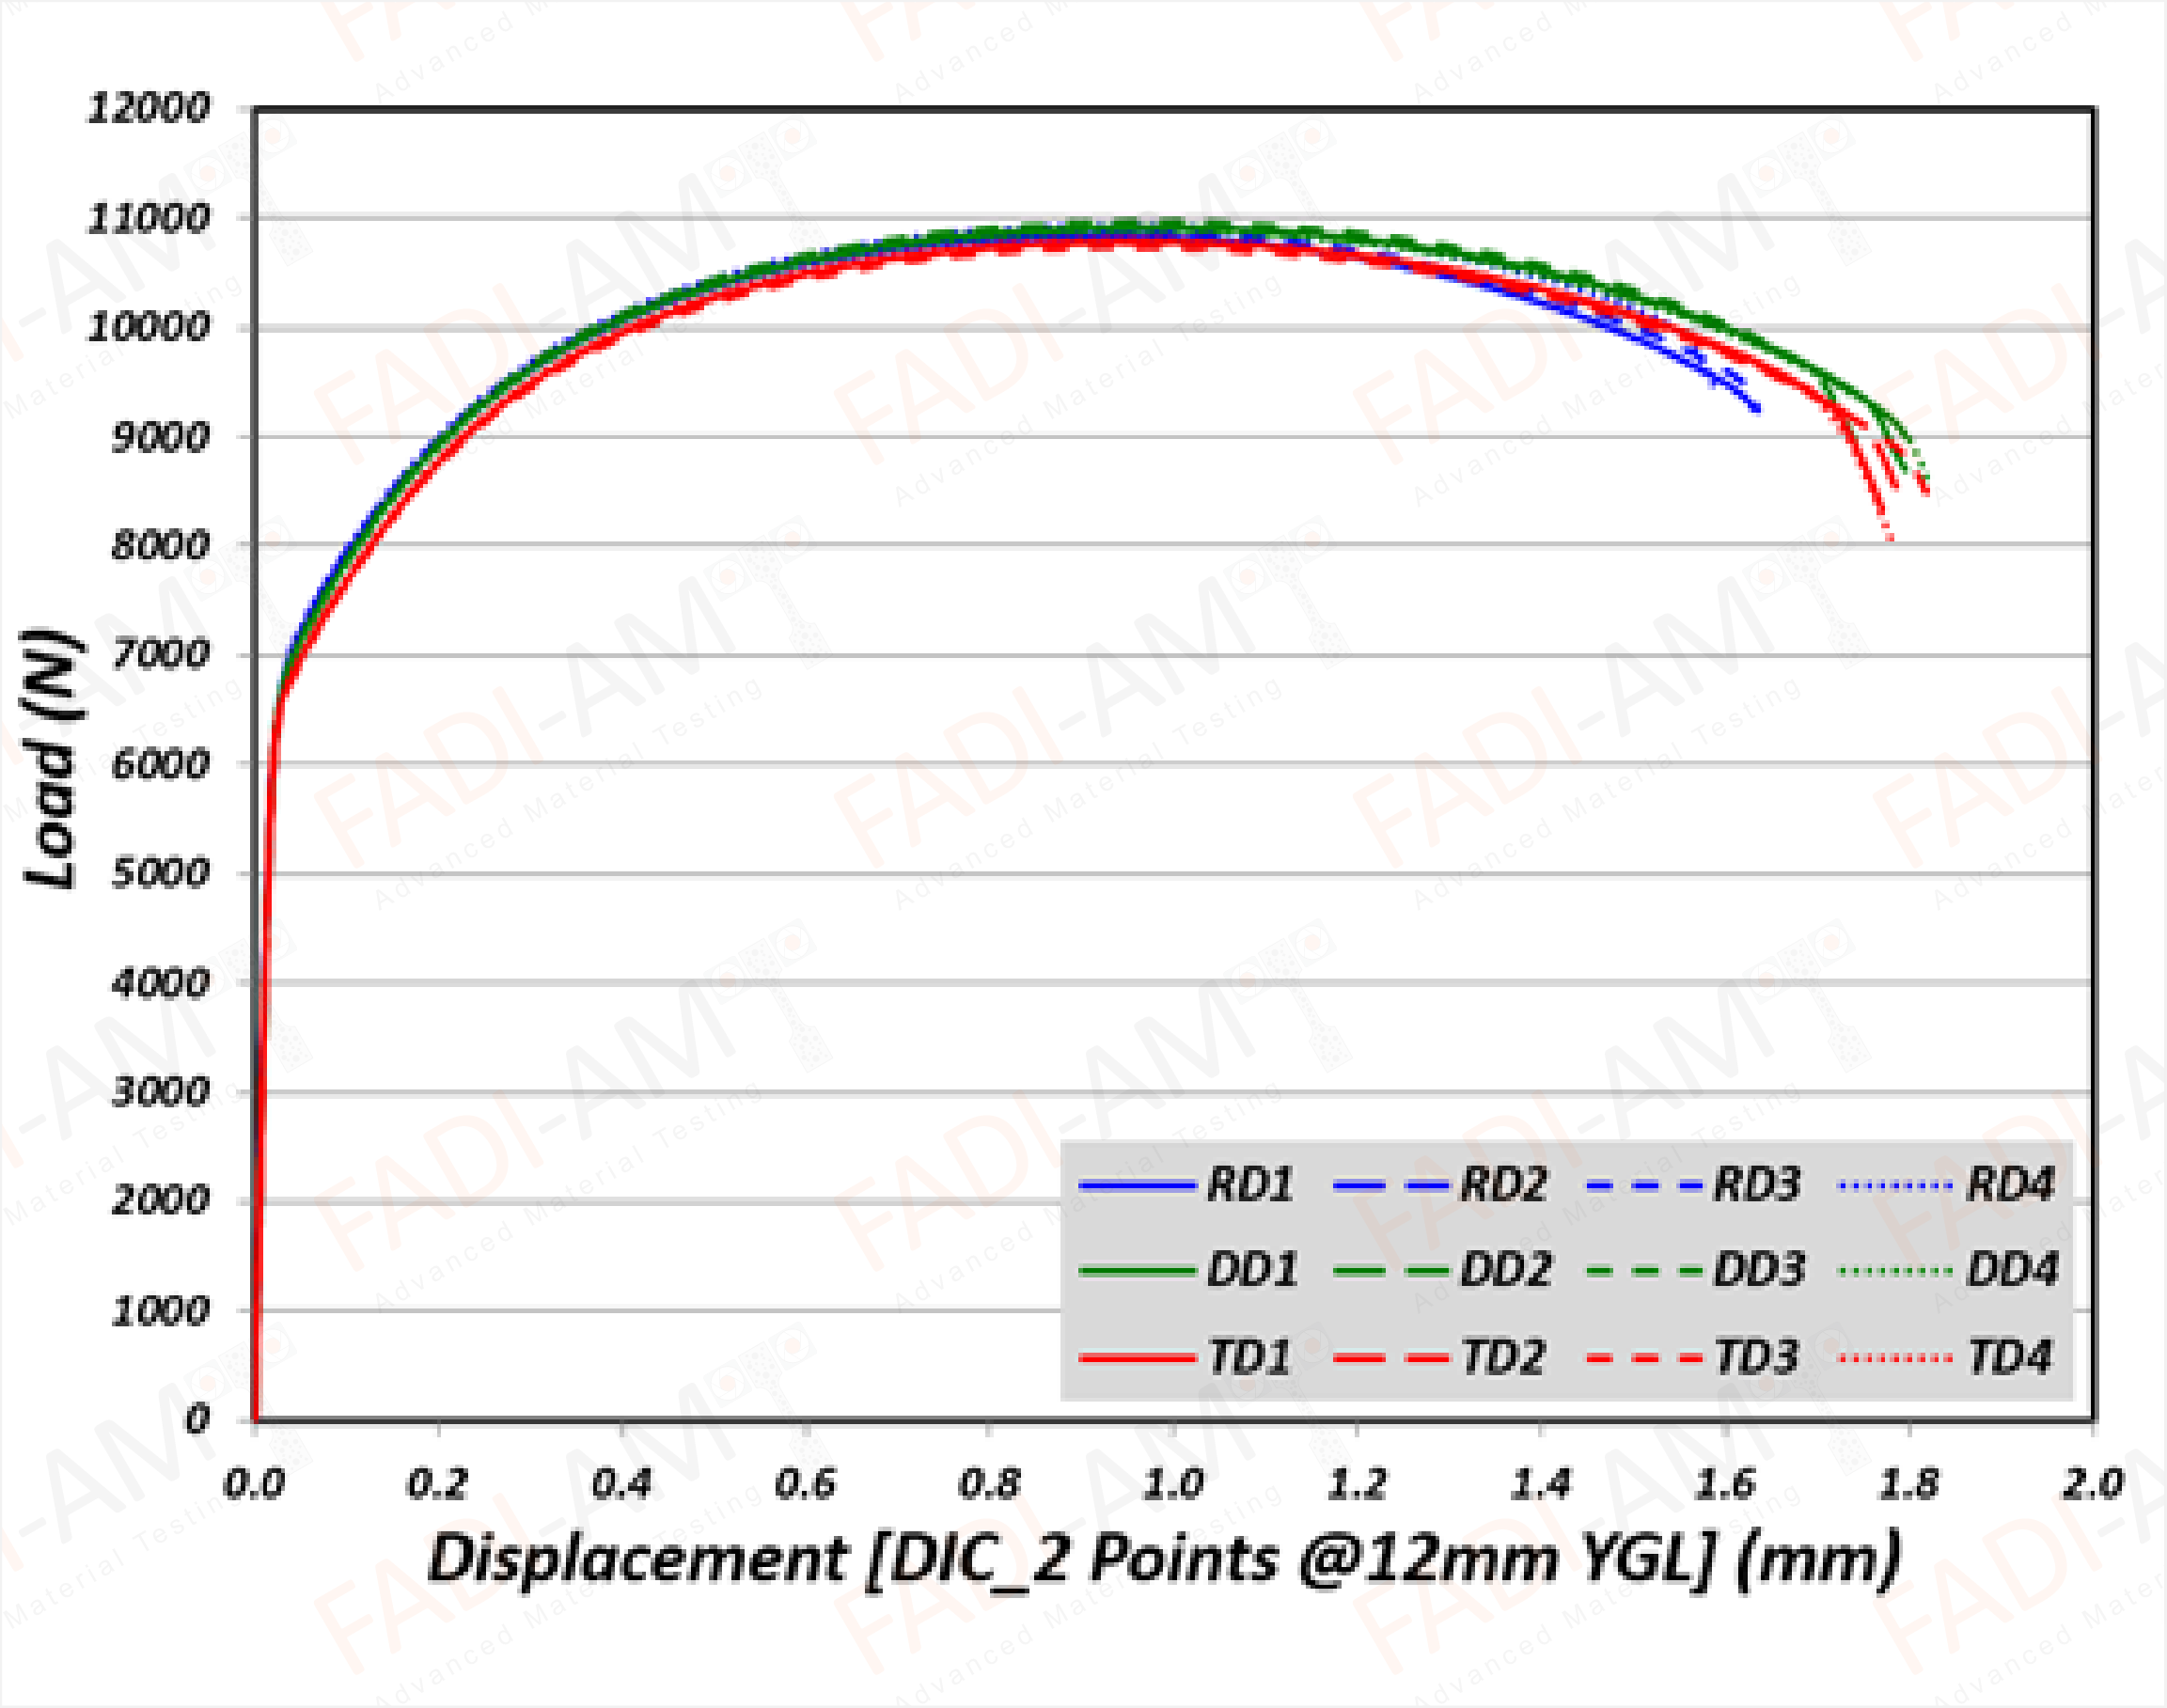
Using data from the test sensors, a PST stress strain curve can be
determined for the material. Like the more common tensile
stress-strain curve, the PST curve plots the stress in the
material at every time during the test against the measured strain
at that time. However, stress-strain curves derived from plane
strain conditions will look very different to those derived from
uniaxial loading, even for the same material.
Knowledge of the relevant stress-strain curves can be very useful
when engineers work with materials that are expected to undergo
plane strain conditions.

Plane Strain Testing Standards
Though no standards currently cover PST testing in full, multiple
standards do exist which pertain to the testing methods and setups
often adapted for PST. ISO 6892 and ASTM E8 regulate tension
testing, ISO 12004 regulates FLC testing, and ISO 16808 regulates
hydraulic bulge testing.

_FADI-AMT.png)
